Mechanical Keyboards
I’ve been using Kinesis keyboards since 1996, and from the outside, it
looks like nothing much has changed since my first one. On the plus
side, Kinesis didn’t screw up a good thing. On the better side,
they have made continual improvements over the years to make their
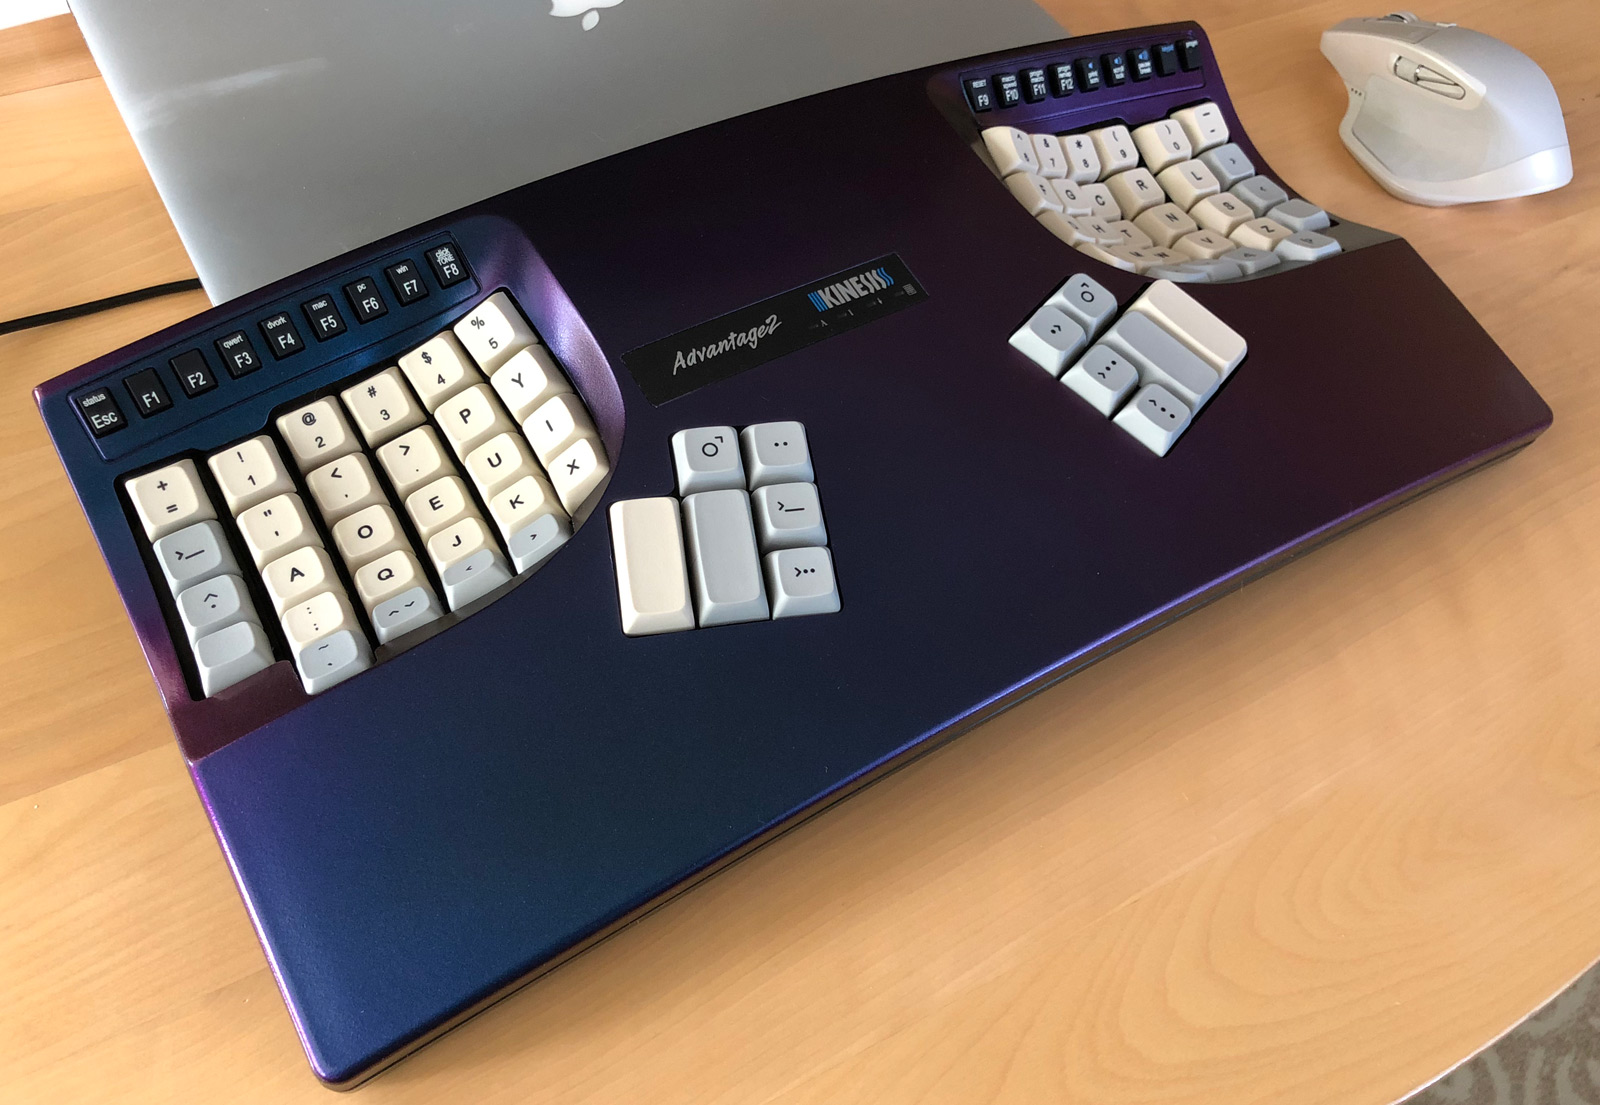
current model, the Advantage2, a nearly-perfect mechanical keyboard.
What you see above is not stock from the factory! I took a black
Advantage2 keyboard and painted it, plus switched the keycaps to Mito
Canvas XDA. You can review my earlier posts on how to paint your
keyboard and my earliest Kinesis review. This paint job used
Rust-Oleum color-shift paint in “Galaxy Blue.”

I’ve done a heck of a lot of typing over the past ten years, and my
keyboards show it. They look grimy and beaten down, but continue to
work flawlessly. After doing a rubik’s cube paint job on my first
Kinesis keyboard, I decided I’d fix up another, this time applying
lessons learned from the first. This article describes to you can
create your own New Hotness like mine pictured above.
When I first moved to Silicon Valley I worked crazy hours. I loved my
job and I needed to prove myself, so I was coding like crazy. That
translates to typing like crazy, and it wasn’t long before that caught
up with me. This article covers my ensuing experience with ergonomic
keyboards and the Dvorak keyboard layout.
Rewind to 1995. I could type pretty fast on a normal keyboard. My
touch typing was not textbook proper, but hey, it worked fine for me.
I started getting worried when I would go home and I could still feel
the tension in my forearms and wrists. I figured that if I was going
to be a programmer geek for any decent amount of time, I’d have to fix
those problems pronto.
I got to talking to Eric Townsend, a coworker of mine who owned the
wackiest keyboard I had ever seen. It was a Kinesis Contoured
keyboard. I found myself fascinated enough to drop the $300 (at
the time) to get one myself.