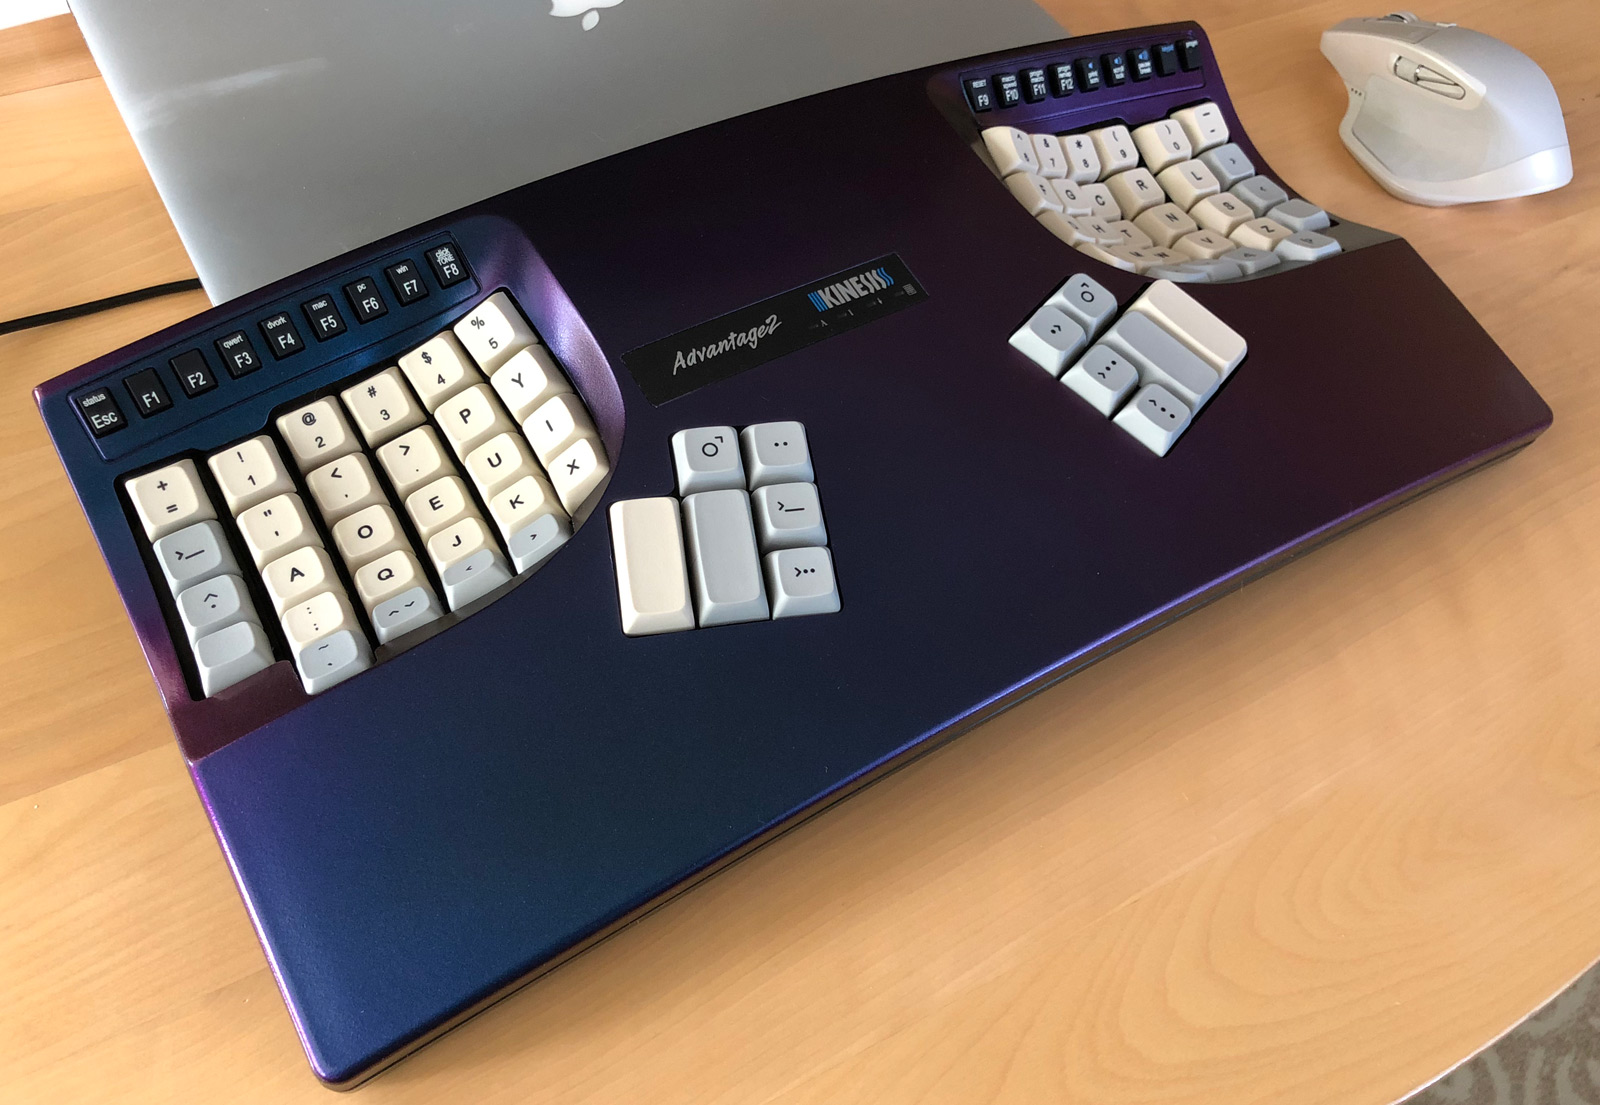


I’ve done a heck of a lot of typing over the past ten years, and my keyboards show it. They look grimy and beaten down, but continue to work flawlessly. After doing a rubik’s cube paint job on my first Kinesis keyboard, I decided I’d fix up another, this time applying lessons learned from the first. This article describes to you can create your own New Hotness like mine pictured above.
Before going any further, necessary disclaimers apply: do this at your own risk. I’m not responsible if you blow up your keyboard or anything else. As it happens, this is a pretty low-risk procedure, but I still disclaim any liability if you break something. Also, you obviously need to be a skilled touch typist if you paint your keys.

First, I selected my grimiest Kinesis Contoured keyboard. Yea, not pretty, but she’ll be redeemed soon enough. The keys obviously need to come off, so I used a keycap puller to remove them. Just slip the wires around the edges of the keys and pull straight out. (Note: keycaps on laptops are not the same.) Note that on most desktop keyboards the keycaps are not identical – each row will have its own shape. Thus, you must keep track of where the keys came from. I labeled each keycap as I took it off, letter for the row and number for the column.
Then it’s off to the sink to remove the finger juice. Fortunately, a short bath in hot soapy water is usually enough to de-grime the caps with little scrubbing. Then disassemble the keyboard–send me a note if you have a Kinesis, there’s one tricky part–and wash the case. Now any normal person would stop here and reassemble their minty-fresh keyboard, but we’re just getting started.


There are lots of options for your paint job: wild colors, all black, silver case with anthracite (dark silver) keys, and anything else you can imagine. If you’re going to do different colors, it’s helpful to lay out the keys in a grid as you assign colors. (The astute reader will notice I didn’t count my key columns correctly.) I assigned colors to make them look evenly distributed but more-or-less random.
Since the keyboard case has clear spots for LEDs to shine through, I masked these with labels cut to size. Masking tiny spots requires patience: carefully cut the labels to size, put them over the LED spots but don’t press down, then use a straightedge to get them lined up just right. Finally, press the masking labels down firmly.

On my last keyboard I used model paints, then added a clear acrylic overspray for protection. That didn’t fare too well over the years, so this time I looked for the most durable paint possible. I found Krylon Fusion, a paint line specifically designed to bond with plastics. My local hardware store carried a full line–and seconded the recommendation that Fusion was the stuff to use–so I selected several bright colors for the keys and “nickel shimmer” for the case. Krylon even makes a bizarre “mystic prism” color-shifting overspray–you know there’s something fun you could do with that.
For light colors like yellow, you’ll probably need to put a darker color on first. I’d suggest a gray, staying within the Krylon Fusion line since the Fusion paints will bond better with plastic than a general-purpose primer will. I used the nickel shimmer as my base coat for the yellow and red keys, but I still needed about five coats of yellow to get a nice bold color.
As with all spray painting, start the spray from off the work, sweep across the work, and off the other side. If you screw up and get a puddle of paint, don’t try wiping it! Just let it dry and sand it smooth with a 600 grit finishing sandpaper. It’ll look nasty when sanded, but the next coat will look great.
After your last coat, I suggest waiting a full day before reassembly. I jumped the gun and wound up scratching the paint on the case, which after four hours was not fully hardened. (More sanding and painting followed.) Reassembly should be straightforward if you labeled the keys and didn’t let any screws wander off.
That’s it, your masterpiece is complete!

UPDATE 2007.06.22: reader Chris Bremmer pointed me at these photos of his painted mouse and keyboard, including in-progress shots. Very nicely done!
Update 2018.07.17 check out my latest Kinesis masterpiece!

Share this post
Twitter
Google+
Facebook
Reddit
LinkedIn
StumbleUpon
Pinterest
Email